Angular Component Testing
Framework Support
Cypress Component Testing supports Angular 13+.
Tutorial
Visit the Angular Quickstart Guide for a step-by-step tutorial.
Installation
To get up and running with Cypress Component Testing in Angular, install Cypress into your project:
npm i cypress -D
Open Cypress:
npx cypress open

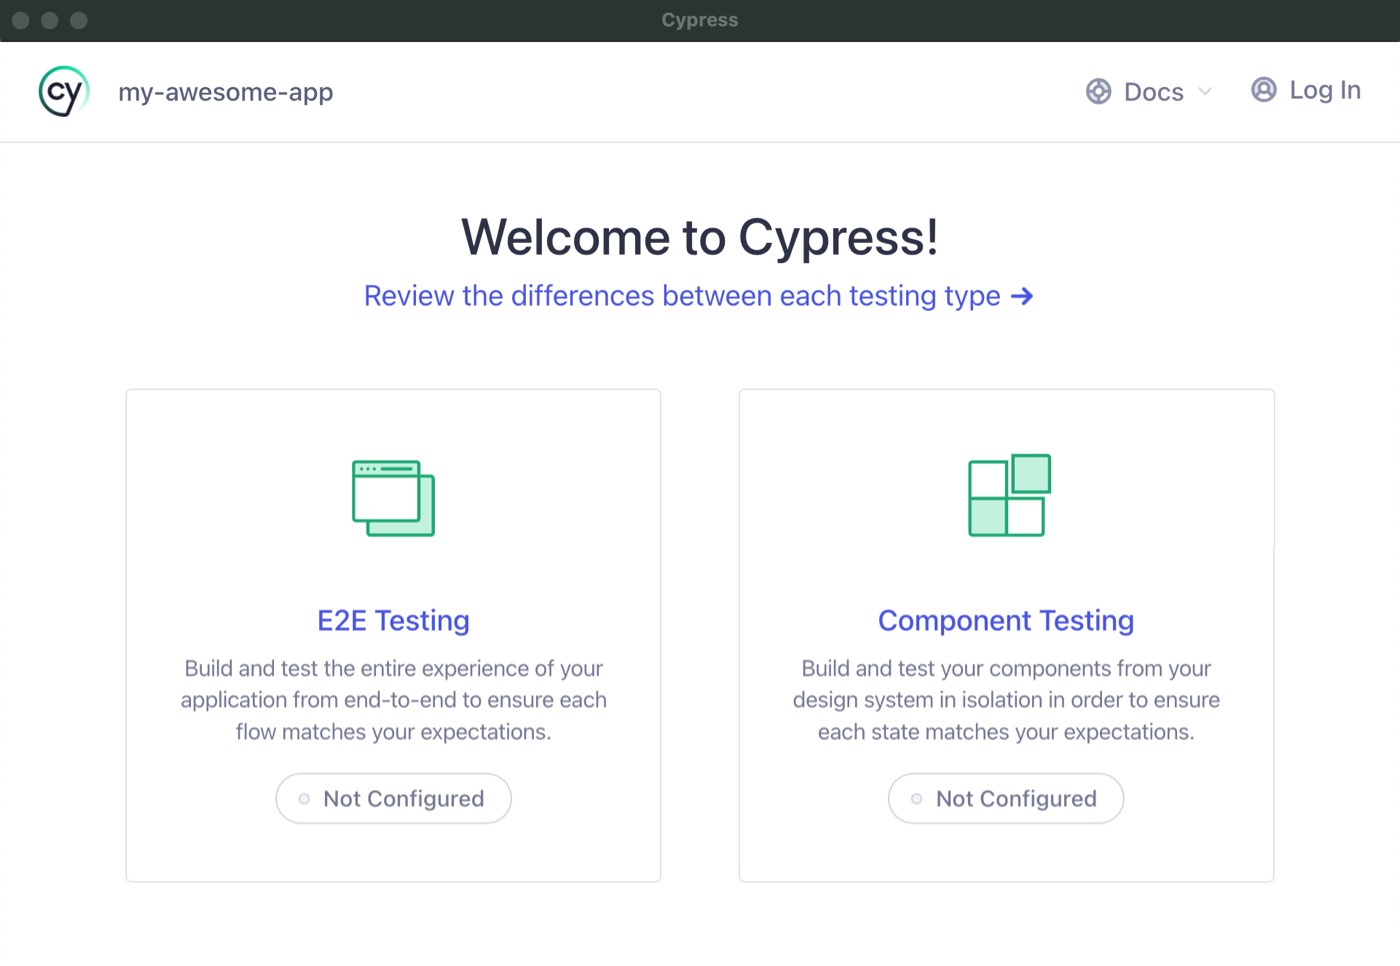
Choose Component Testing
The Cypress Launchpad will guide you through configuring your project.
For a step-by-step guide through the installation wizard, refer to the Configure Component Testing section of the Angular quickstart guide.
Usage
What is the Mount Function?
We ship a mount function that is imported from the cypress package. It is
responsible for rendering components within Cypress's sandboxed iframe and
handling any framework-specific cleanup.
import { mount } from 'cypress/angular'
While you can use the mount function in your tests, we recommend using
cy.mount(), which is added as a
custom command in the
cypress/support/component.ts file:
import { mount } from 'cypress/angular'

Cypress.Commands.add('mount', mount)
This allows you to use cy.mount() in any component test without having to
import the framework-specific mount command, as well as customizing it to fit
your needs. For more info, visit the
Custom Mount Commands
section in the Angular examples.
Using cy.mount()
To mount a component with cy.mount(), import the component and pass it to the
method:
import { StepperComponent } from './stepper.component'

it('mounts', () => {
  cy.mount(StepperComponent)
})
Passing Data to a Component
You can pass inputs and outputs to a component by setting componentProperties in the options:
cy.mount(StepperComponent, {
  componentProperties: {
    count: 100,
    change: new EventEmitter(),
  },
})
Imports/Declarations/Providers
If you need to set up any additional imports, declarations, or providers
for your component to mount successfully, you can set them in the options
(similar to using an ngModule):
cy.mount(ComponentThatFetchesData, {
  imports: [HttpClientModule],
  declarations: [ButtonComponent],
  providers: [DataService],
})
View the
Default Declarations, Providers, or Imports
to set up common options in a custom cy.mount() command so these don't have to
be repeated for each test.
Using Angular Template Syntax
The cy.mount() method also supports the Angular template syntax when mounting
a component. Some developers might prefer this approach to the object based
mount style:
cy.mount(`<app-stepper [count]="100"></app-stepper>`, {
  declarations: [StepperComponent],
})
When using template syntax, the component needs to added to the declarations in the options parameter.
Using with event emitter spy:
cy.mount('<app-button (click)="onClick.emit($event)">Click me</app-button>', {
  declarations: [ButtonComponent]
  componentProperties: {
    onClick: createOutputSpy('onClickSpy'),
  },
})
cy.get('button').click();
cy.get('@onClickSpy').should('have.been.called');
Accessing the Component Instance
There might be times when you might want to access the component instance
directly in your tests. To do so, use .then(), which enables us to work with
the subject that was yielded from the cy.mount() command. In this case, mount
yields an object that contains the rendered component and the fixture.
In the below example, we use the component to spy directly on the change event
emitter.
it('clicking + fires a change event with the incremented value', () => {
  cy.mount(
    '<app-stepper count="100" (change)="change.emit($event)"></app-stepper>',
    {
      componentProperties: { change: new EventEmitter() },
      declarations: [StepperComponent],
    }
  ).then((wrapper) => {
    console.log({ wrapper })
    cy.spy(wrapper.component.change, 'emit').as('changeSpy')
    return cy.wrap(wrapper).as('angular')
  })
  cy.get(incrementSelector).click()
  cy.get('@changeSpy').should('have.been.calledWith', 101)
})
Using createOutputSpy()
To make spying on event emitters easier, there is a utility function called
createOutputSpy() which can be used to automatically create an EventEmitter
and setup the spy on it's .emit() method. It can be used like the following:
import { createOutputSpy } from 'cypress/angular'

it('clicking + fires a change event with the incremented value', () => {
  // Arrange
  cy.mount('<app-stepper (change)="change.emit($event)"></app-stepper>', {
    declarations: [StepperComponent],
    componentProperties: {
      change: createOutputSpy<boolean>('changeSpy'),
    },
  })
  cy.get(incrementSelector).click()
  cy.get('@changeSpy').should('have.been.called')
})
Using autoSpyOutputs
You might find yourself repeatedly creating a cy.spy() for each of your
component outputs. Because of this, we created an easy mechanism to handle this
for you. This feature can be turned on by passing the autoSpyOutputs flag into
MountConfig. After the component has been mounted you can then access each of
the generated spies using the @Output() property name + Spy. So our change
property can be accessed via its alias of cy.get('@changeSpy')
it('clicking + fires a change event with the incremented value', () => {
  cy.mount(StepperComponent, {
    autoSpyOutputs: true,
    componentProperties: {
      count: 100,
    },
  })
  cy.get(incrementSelector).click()
  cy.get('@changeSpy').should('have.been.calledWith', 101)
})
The autoSpyOutput flag only works when passing in a component to the mount
function. It currently does not work with the template syntax.
autoSpyOutput is an experimental feature and could be removed or changed
in the future