Vue Component Testing
Framework Support
Cypress Component Testing supports Vue 2+ in a variety of different frameworks:
- Vue CLI
- Nuxt
- Vue with Vite
- Vue with Webpack
Tutorial
Visit the Vue Quickstart Guide for a step-by-step tutorial.
Installation
To get up and running with Cypress Component Testing in Vue, install Cypress into your project:
npm i cypress -D
Open Cypress:
npx cypress open

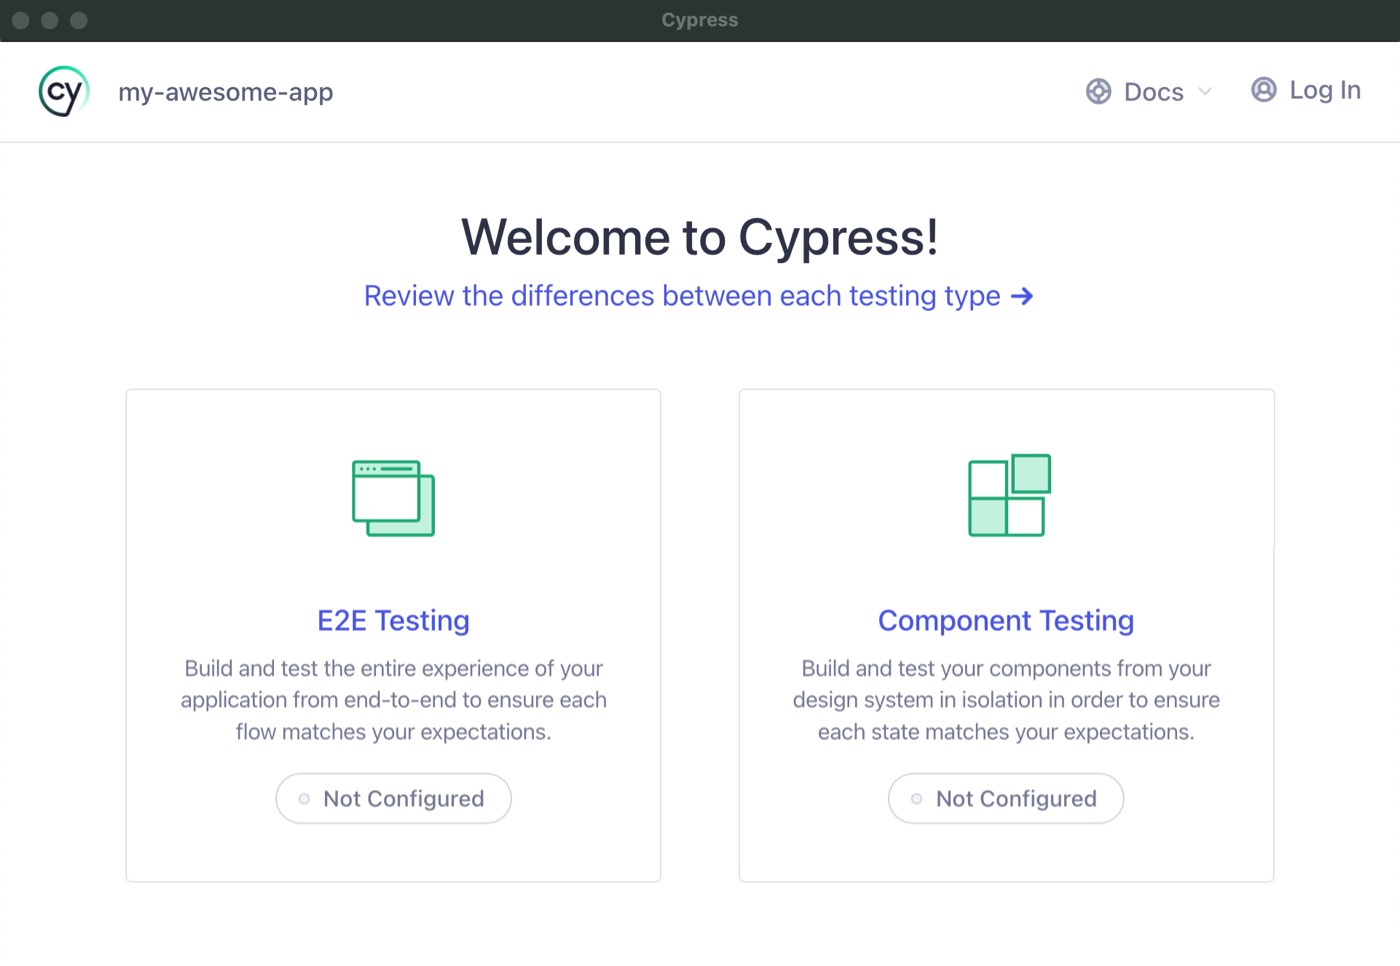
Choose Component Testing
The Cypress Launchpad will guide you through configuring your project.
For a step-by-step guide through the installation wizard, refer to the Configure Component Testing section of the Vue quickstart guide.
Usage
What is the Mount Function?
We ship a mount function that is imported from the cypress package. It is
responsible for rendering components within Cypress's sandboxed iframe and
handling any framework-specific cleanup.
//Vue 3
import { mount } from 'cypress/vue'
//Vue 2
import { mount } from 'cypress/vue2'
While you can use the mount function in your tests, we recommend using
cy.mount(), which is added as a
custom command in the
cypress/support/component.js file:
import { mount } from 'cypress/vue'

Cypress.Commands.add('mount', mount)
This allows you to use cy.mount() in any component test without having to
import the framework-specific mount command, as well as customizing it to fit
your needs. For more info, visit the
Custom Mount Commands
section in the Vue examples.
Using cy.mount()
To mount a component with cy.mount(), import the component and pass it to the
method:
import { Stepper } from './Stepper.vue'

it('mounts', () => {
  cy.mount(Stepper)
})
Using JSX
The mount command also supports JSX syntax (provided that you've configured your bundler to support transpiling JSX or TSX files). Some might find using JSX syntax beneficial when writing tests.
Sample with JSX:
it('clicking + fires a change event with the incremented value', () => {
  const onChangeSpy = cy.spy().as('onChangeSpy')
  cy.mount(<Stepper initial={100} onChange={onChangeSpy} />)
  cy.get('[data-cy=increment]').click()
  cy.get('@onChangeSpy').should('have.been.calledWith', 101)
})
Passing Data to a Component
You can pass props and events to a component by setting props in the options:
cy.mount(Stepper, {
  props: {
    initial: 100,
    onChange: () => {},
  },
})
cy.mount(Stepper, {
  propsData: {
    initial: 100,
    onChange: () => {},
  },
})
Using Slots
Default Slot
import DefaultSlot from './DefaultSlot.vue'

describe('<DefaultSlot />', () => {
  it('renders', () => {
    cy.mount(DefaultSlot, {
      slots: {
        default: 'Hello there!',
      },
    })
    cy.get('div.content').should('have.text', 'Hello there!')
  })
})
import DefaultSlot from './DefaultSlot.vue'

describe('<DefaultSlot />', () => {
  it('renders', () => {
    cy.mount(<DefaultSlot>Hello there!</DefaultSlot>)
    cy.get('div.content').should('have.text', 'Hello there!')
  })
})
<template>
  <div>
    <div class="content">
      <slot />
    </div>
  </div>
</template>

<script setup></script>
Named Slot
import NamedSlot from './NamedSlot.vue'

describe('<NamedSlot />', () => {
  it('renders', () => {
    const slots = {
      header: 'my header',
      footer: 'my footer',
    }
    cy.mount(NamedSlot, {
      slots,
    })
    cy.get('header').should('have.text', 'my header')
    cy.get('footer').should('have.text', 'my footer')
  })
})
import NamedSlot from './NamedSlot.vue'

describe('<NamedSlot />', () => {
  it('renders', () => {
    const slots = {
      header: 'my header',
      footer: 'my footer',
    }
    cy.mount(<NamedSlot>{{ ...slots }}</NamedSlot>)
    cy.get('header').should('have.text', 'my header')
    cy.get('footer').should('have.text', 'my footer')
  })
})
<template>
  <div>
    <header>
      <slot name="header" />
    </header>
    <footer>
      <slot name="footer" />
    </footer>
  </div>
</template>

<script setup></script>
For more info on testing Vue components with slots, refer to the Vue Test Utils Slots guide.
Using Vue Test Utils
In order to encourage interoperability between your existing component tests and Cypress, we support using Vue Test Utils' API.
cy.mount(Stepper).then((wrapper) => {
  // this is the Vue Test Utils wrapper
})
If you intend to use the wrapper frequently and use Vue Test Util's API, we
recommend you write a custom mount command and create a
Cypress alias to get back at the wrapper.
import { mount } from 'cypress/vue'

Cypress.Commands.add('mount', (...args) => {
  return mount(...args).then((wrapper) => {
    return cy.wrap(wrapper).as('vue')
  })
})

// the "@vue" alias will now work anywhere
// after you've mounted your component
cy.mount(Stepper).doStuff().get('@vue') // The subject is now the Vue Wrapper
This means that you are able to get to the resulting wrapper returned from the
mount command and use wrapper.emitted() in order to gain access to Native
DOM events that were fired, as well as custom events that were emitted by your
component under test.
Because wrapper.emitted() is only data, and NOT spy-based you will have to
unpack its results to write assertions.
Your test failure messages will not be as helpful because you're not able to use
the Sinon-Chai library that Cypress ships, which comes with methods such as
to.have.been.called and to.have.been.calledWith.
Usage of the cy.get('@vue') alias may look something like the below code
snippet.
Notice that we're using the 'should' function signature in order to take
advantage of Cypress's retryability. If we
chained using cy.then instead of cy.should, we may run into the kinds of
issues you have in Vue Test Utils tests where you have to use await frequently
in order to make sure the DOM has updated or any reactive events have fired.
cy.mount(Stepper, { props: { initial: 100 } })
cy.get(incrementSelector).click()
cy.get('@vue').should((wrapper) => {
  expect(wrapper.emitted('change')).to.have.length
  expect(wrapper.emitted('change')[0][0]).to.equal('101')
})
const onChangeSpy = cy.spy().as('onChangeSpy')

cy.mount(Stepper, { props: { initial: 100, onChange: onChangeSpy } })

cy.get(incrementSelector).click()
cy.get('@onChangeSpy').should('have.been.calledWith', '101')
Regardless of our recommendation to use spies instead of the internal Vue Test
Utils API, you may decide to continue using emitted as it automatically
records every single event emitted from the component, and so you won't have to
create a spy for every event emitted.
This auto-spying behavior could be useful for components that emit many custom events.